
How to Draw in Perspective using Illustrator
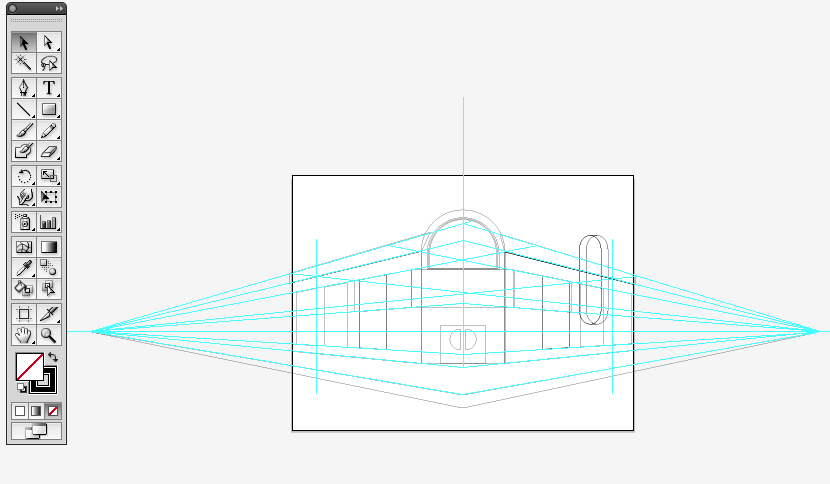
When creating an illustration or design using a perspective view, it is much easier to draw in perspective using Illustrator rather than Photoshop. You seem to have a lot more control, and the tools are quicker to use and help you to get the job done easier. Also, you can go outside of the document restraints if your vanishing point is on the edge of the page. You can make all sorts of guidelines to help you properly align your elements. Here, I created a mock theater design based off of dozens of photos that I compiled from the internet. With these, I took elements from different theaters that I like and created my own. This doesn’t exist in real life.
Using the Perspective Tools in Illustrator
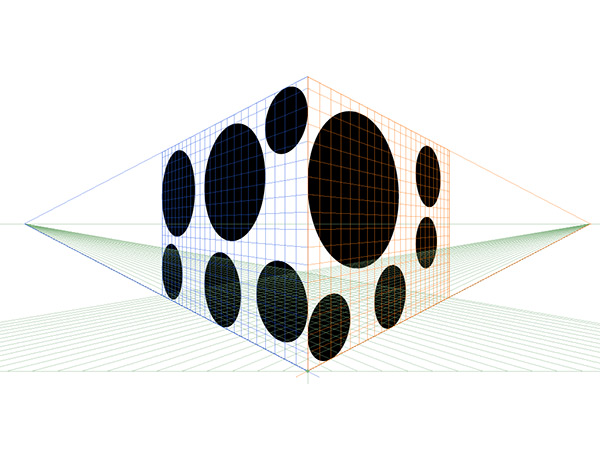
Illustrator has a couple of built-in tools for creating artwork in the proper perspective. The perspective grid tool helps you to place objects in the proper perspective. When you select the Perspective Grid Tool, the default grid comes up, and each handle controls a different parameter of your perspective settings.

The diagram above shows what each point does. This will enable you to set up your design in perspective using Illustrator just how you need to in order to get the look that you want. The two points labeled Vanishing Point Will enable you to change the overall perspective angle of each face. You can move the Horizon lines up or down using the outer left and right points. You can make the grid taller or shorter by using the top and bottom grid points.

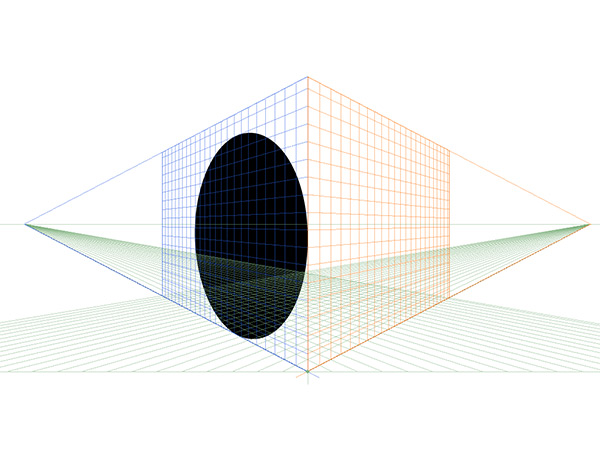
If you select the Perspective Selection tool, found under the Perspective Grid Tool, you will have the ability to choose which perspective that you can draw in before you draw your shapes. The icon is found in the top left of your screen in Illustrator. This will make it easy, because from now on, you will draw any new shapes in the perspective that you selected. I chose the left side, so now when I draw an ellipse, it will be in perspective. I can also move it back and forth in perspective using the Selection Tool.
If it throws you off or you don’t feel comfortable having your shapes drawn for you in perspective, you can always use the grid to set up steady guides. You can create guides by selecting any line of lines on your artboard and go to View>Guides>Make Guides. This turns your lines into the blue guidelines to help you along. From the guides menu, you were just in, you can also hide and show guides.

From here, once you have all of your basic shapes and objects drawn, you can select all by hitting command and the A key and hit Command/Ctrl + C to Copy. Then, switch to Photoshop and create a new document at whatever size that you want. If you are doing print work, set the resolution to 300. If you are doing web work, choose 72. Hit Edit> Paste and then you can paste your lines in. Choose the option to paste as paths. Here you can select each portion of our path and fill it. You can also paint it and add effects to it, making it more realistic. It is amazing how fantastic your work can look if you choose the proper workflow.
Conclusion
Creating artwork in Perspective Using Illustrator will enable to do so quickly and efficiently because the tools are already built right in. You can set Illustrator so that shapes are forcibly drawn to a certain perspective or plane. This will save you tons of time from having to transform each shape into the proper perspective.
What do you think about this feature? Do you use the Perspective Tools a lot in your work? Please share your experiences in the comments section below.

